


How to Change Brake Pads: A Step-by-Step DIY Guide
Posted by Amanda M. on 28th Apr 2026

Replacing your brake pads is one of the most important maintenance tasks you can perform on your vehicle and one of the most rewarding DIY jobs. Fresh brake pads restore stopping power, reduce noise, and help protect your rotors from costly damage.
The good news is that with the right tools and a little patience, you can change your brake pads at home and save money on labor. In this guide, we’ll walk you through everything you need to know, from preparation to final testing, using professional-grade tools available at JBTools.
Why Brake Pad Replacement Matters
Brake pads are designed to wear down over time. Every time you press the brake pedal, the pads clamp onto the rotor to slow your vehicle. That friction generates heat and gradually reduces pad thickness.
Driving on worn brake pads can lead to:
- Reduced stopping power
- Increased stopping distances
- Damage to rotors, which are much more expensive to replace
- Squealing or grinding noises
Most manufacturers recommend checking your brake pads every 10,000 to 20,000 miles and replacing them when they reach about 3 to 4 mm thickness.
Tools and Materials You’ll Need
Before you start, gather the proper tools and supplies. Having everything ready makes the process smoother and safer.
Must-have tools
- Jack and jack stands
- Lug wrench or breaker bar
- Socket set and ratchet
- Torque wrench
- C-clamp or brake piston tool
Recommended products from JBTools
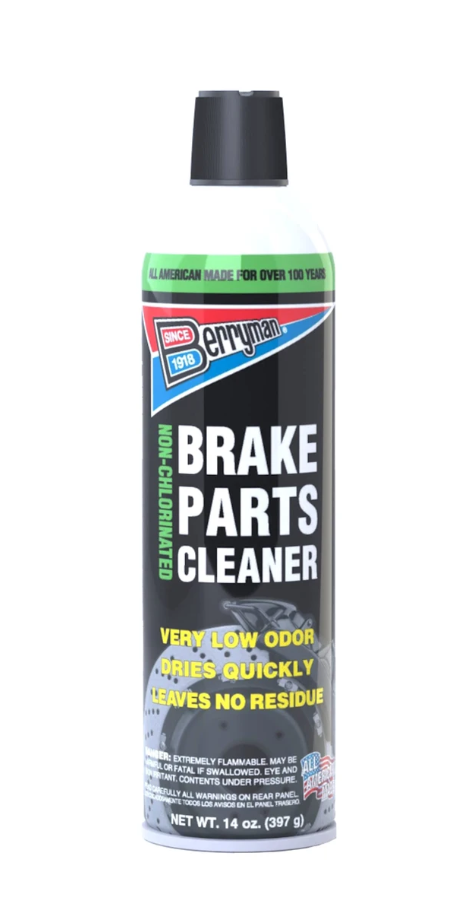
Brake cleaner
Berryman 2420 Non-Chlorinated Brake Parts Cleaner
A fast-drying cleaner that removes grease, oil, and brake dust with no residue. A high-quality brake cleaner is essential for removing contaminants and ensuring optimal braking performance.
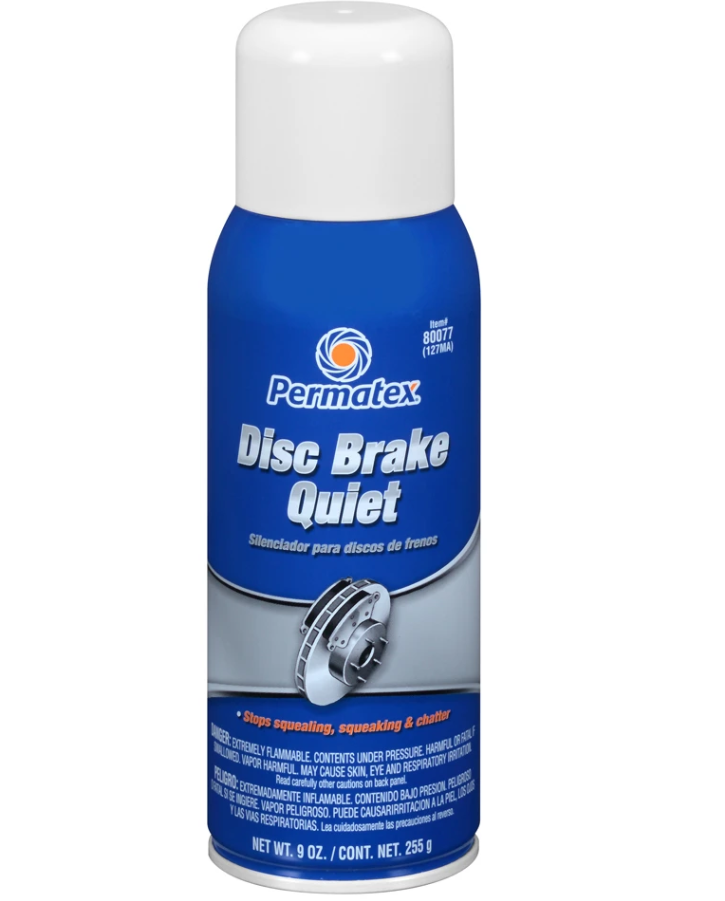
Anti-squeal solution
Permatex 80077 Disc Brake Quiet
This product helps eliminate brake noise by reducing vibration and protecting components from corrosion.
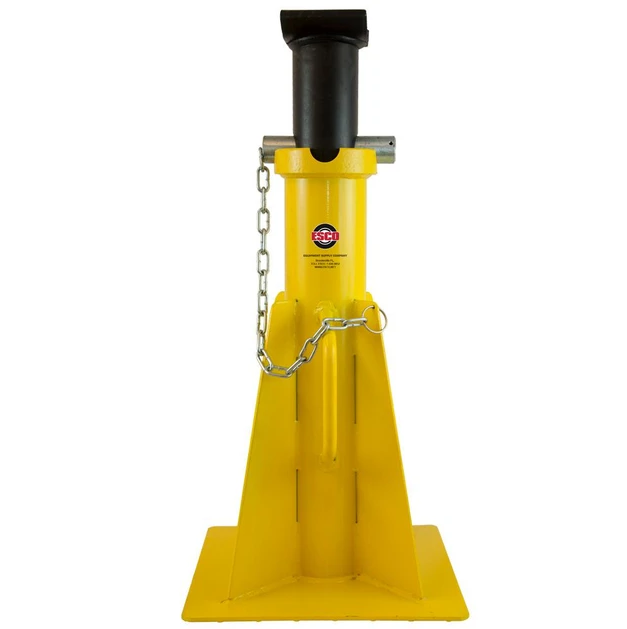
Heavy-duty jack stand
ESCO 10804 25-Ton Pin Style Jack Stand
A durable, high-capacity jack stand designed for maximum stability and safety while working under your vehicle.
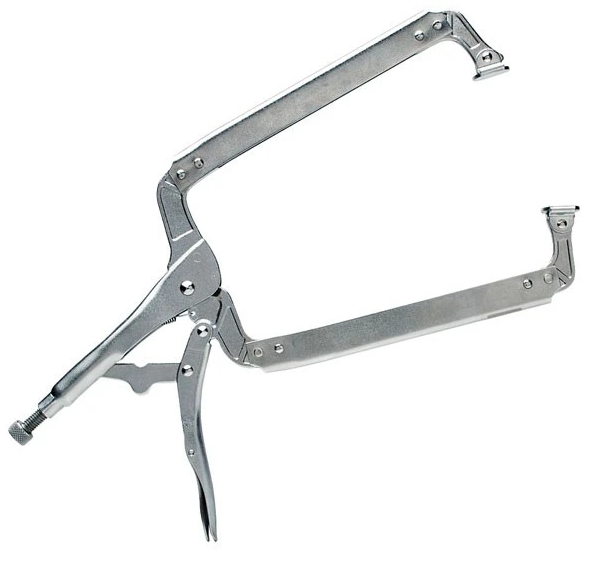
C-clamp for caliper compression
Eastwood 18-inch Locking C-Clamp with Swivel Pads
A strong and reliable clamp that allows you to compress the caliper piston evenly and safely.
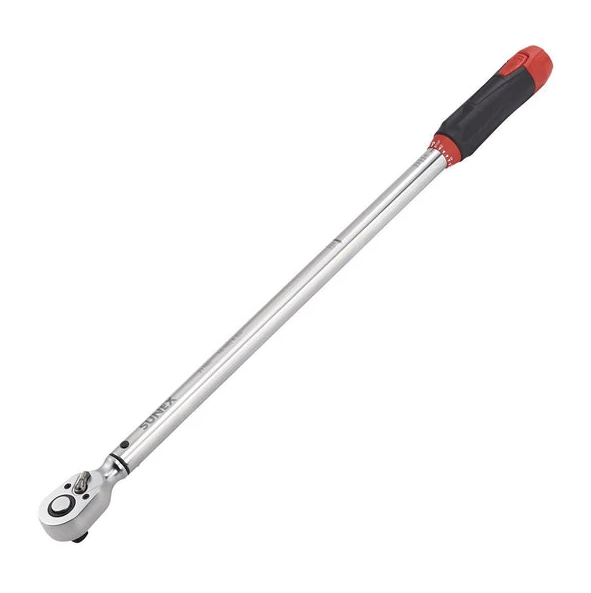
Torque wrench
Sunex 1/2-inch Drive Torque Wrench, 10 to 160 ft-lb
A precision tool that ensures bolts and lug nuts are tightened to the correct specifications.
How To Change Your Brake Pads
Step 1: Prepare Your Vehicle
Start by parking your vehicle on a flat, level surface. Engage the parking brake and place wheel chocks behind the tires for added safety.
Loosen the lug nuts slightly before lifting the vehicle. This prevents the wheels from spinning while in the air.
Step 2: Lift and Secure the Vehicle
Use a jack to lift your vehicle at the manufacturer-recommended lift points. Once elevated, place your jack stands securely underneath the frame or designated support areas.
Never rely solely on a jack. Always use jack stands to prevent serious injury.
Step 3: Remove the Wheel
Finish removing the lug nuts and take off the wheel to expose the brake assembly. Set the wheel aside in a safe location.
Step 4: Inspect the Brake Components
Before removing anything, take a moment to inspect the brake system:
- Check rotor condition and look for grooves or warping
- Inspect brake lines for leaks or cracks
- Evaluate pad wear
If the rotors are severely worn, you may want to replace them along with the pads.
Step 5: Remove the Brake Caliper
Locate the caliper bolts on the back of the brake assembly. Use your socket and ratchet to remove them.
Once the bolts are out, carefully slide the caliper off the rotor. Do not let it hang by the brake line. Use a bungee cord or hook to suspend it safely.
Step 6: Remove Old Brake Pads
Slide the worn brake pads out of the caliper bracket. You may also need to remove clips or shims that hold them in place.
Take note of how everything is positioned. This will make reassembly easier.
Step 7: Clean the Brake Assembly
Spray down the rotor, caliper bracket, and surrounding components using brake cleaner to remove dust, grease, and debris.
Brake cleaner is designed to dissolve contaminants quickly and evaporate without leaving residue, which ensures clean contact surfaces.
Use a wire brush if needed to remove stubborn buildup.
Step 8: Compress the Caliper Piston
New brake pads are thicker than worn ones, so you will need to push the caliper piston back into its housing.
Use a C-clamp or piston tool to slowly compress the piston. This step is critical because forcing the caliper back on without compressing the piston can damage components.
Step 9: Install New Brake Pads
Insert the new brake pads into the caliper bracket. Replace any hardware clips if your new pads include them.
Apply a thin layer of brake grease or anti-squeal compound to the back of the pads. This helps reduce noise and ensures smooth operation.
Step 10: Reinstall the Caliper
Carefully slide the caliper over the new pads and rotor. Reinstall the caliper bolts and tighten them to the manufacturer’s recommended torque specification.
Using a torque wrench ensures the bolts are tightened correctly. Too loose can be dangerous, and too tight can cause damage.
Step 11: Reinstall the Wheel
Place the wheel back onto the hub and hand-tighten the lug nuts.
Lower the vehicle carefully and then use your torque wrench to tighten the lug nuts in a star pattern. This ensures even pressure and proper wheel alignment.
Step 12: Pump the Brake Pedal
Before driving, pump the brake pedal several times until it feels firm. This step seats the brake pads against the rotor and restores proper brake pressure.
Step 13: Test Drive
Take your vehicle for a short, cautious test drive:
- Start at low speeds
- Test braking gradually
- Listen for unusual noises
It may take a few miles for the new pads to fully bed in and perform at their best.
Pro Tips for Success
- Always replace brake pads in pairs on both sides of the axle
- Avoid touching the braking surface with greasy hands
- Follow proper torque specifications for all fasteners
- Consider replacing rotors if they show significant wear
Final Thoughts
Changing your brake pads is a manageable DIY project that can save you money and give you confidence in your vehicle’s safety. With the right tools such as a reliable torque wrench, heavy-duty jack stands, and quality cleaning products, you can achieve professional-level results in your own garage.
JBTools offers almost everything you need to get the job done right, from trusted brands to heavy-duty equipment designed for both DIYers and professionals.