



Symptoms Of Bad Radiator Cap
13th May 2026
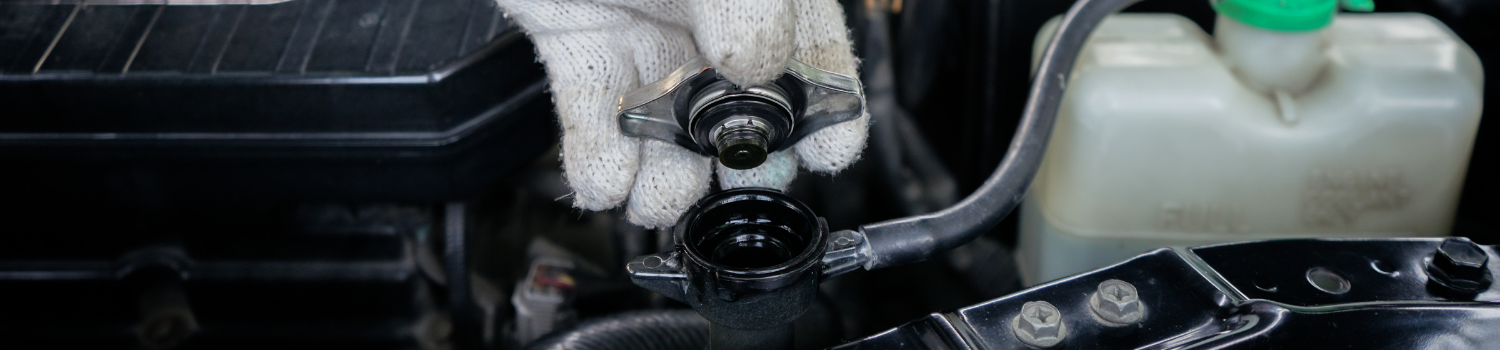
A radiator cap, while a small component in your vehicle's cooling system, plays a crucial role in maintaining optimal engine temperature. It can help manage the pressure within the cooling system, ensuring that it operates efficiently and preventing coolant from boiling over.
A faulty radiator cap can cause a range of issues, potentially leading to significant engine damage if not promptly addressed. In this article, we'll explore the common symptoms of a bad radiator cap and the process to replace it.
Let’s dive in and first understand how it works!
How A Radiator Cap Works
The radiator cap plays a vital role in your vehicle’s cooling system. Its functions extend beyond just capping the radiator; it ensures the entire system operates under optimal pressure conditions, contributing significantly to engine efficiency and safety.
Here’s a detailed breakdown of how a radiator cap works:
Regulates Pressure
The radiator cap maintains a specific pressure threshold, typically 12 to 16 psi, which varies by vehicle, crucial for preventing coolant boil-over. This pressure is crucial because it raises the boiling point of the coolant, allowing it to absorb more heat from the engine without boiling. The cap contains a spring-loaded valve that responds to the pressure of the coolant: as the coolant expands with heat, the pressure builds, and the spring compresses. This mechanism stabilizes pressure, ensuring efficient engine cooling and heat dissipation.
Seals the System
Beyond pressure regulation, the radiator cap ensures that the cooling system is hermetically sealed. This seal prevents the loss of coolant via evaporation and maintains the system's integrity, allowing it to function at the designed pressure. Any compromise in the seal can lead to decreased pressure, leading to overheating and reduced efficiency.
Relieves Pressure
To protect against excessive pressure build-up that could damage the engine and cooling system components (e.g., hoses, radiator), the radiator cap’s valve opens when the pressure exceeds its designed threshold. This release valve prevents the system from reaching pressures that could cause operational failures or catastrophic damage by venting excess pressure into an overflow reservoir.
Coolant Recirculation
The radiator cap also facilitates the recirculation of coolant. As the engine cools, the pressure in the cooling system decreases, causing the spring in the cap to expand. This expansion pulls coolant back from the overflow tank into the radiator through a vacuum valve, ensuring that the radiator remains full and eliminating air pockets that could cause hot spots and overheating.
Symptoms Of Bad Radiator Cap
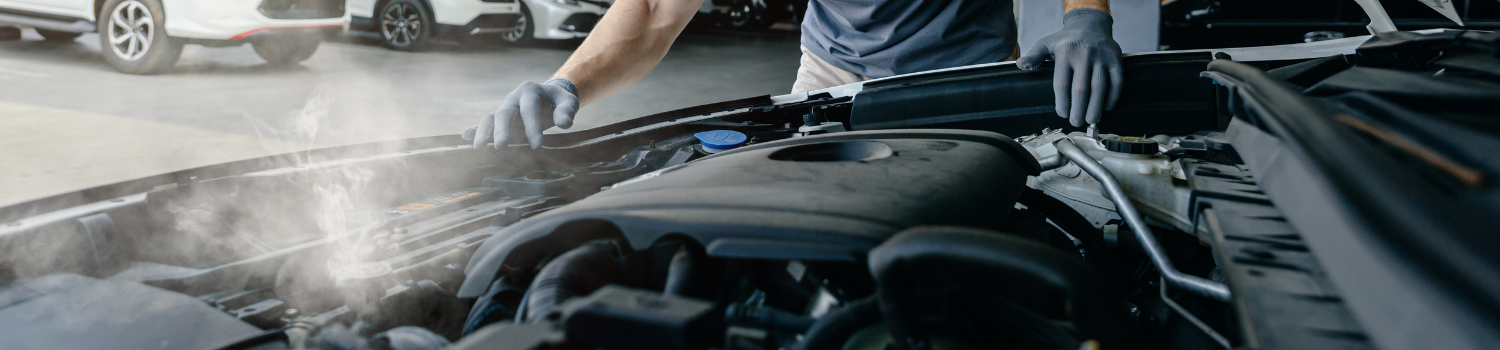
A faulty radiator cap can manifest through specific symptoms that directly impact the performance and safety of your vehicle's cooling system. Understanding these signs can help you identify a failing cap before it leads to more severe engine issues. Here are the symptoms explained in detail:
Overheating Engine
A faulty radiator cap struggles to maintain the critical pressure needed in the cooling system to elevate the coolant's boiling point. Without this pressure, the coolant boils at a lower temperature, diminishing its ability to effectively absorb and dissipate heat from the engine. This often results in engine overheating, particularly during high-load conditions or in warmer climates.
Coolant Leaks
A worn or damaged radiator cap seal can cause minor coolant leaks, which are often visible near the cap or on the ground under the car. If the radiator cap fails to maintain pressure, coolant may escape through the overflow pipe or a compromised seal, causing visible leaks and reduced coolant levels.
Collapsed Radiator Hose
The radiator cap includes a vacuum valve that allows coolant to flow back into the radiator from the overflow tank as the engine cools. If this valve is damaged, it can create a vacuum effect that is too strong, causing the radiator hoses to collapse inward. This issue can significantly restrict coolant flow, potentially leading to overheating and hose damage.
Shop Now: Radiator Repair Hose Tools
Air Bubbles in the Cooling System
An improper seal from a faulty radiator cap can allow air to enter the cooling system, leading to the formation of air bubbles. These air pockets can obstruct the flow of coolant and reduce the system’s ability to transfer heat away from the engine, often manifesting as fluctuating temperature readings and heating issues.
Frequent Coolant Reservoir Overflow
If the radiator cap’s pressure relief valve is stuck in the open position, it fails to retain the coolant under higher pressures. As a result, excess coolant constantly flows into the overflow reservoir, often causing it to overflow when the engine reaches operating temperature. This can be observed as puddles of coolant near the reservoir, especially after stopping the vehicle.
Shop Now: Radiator Repair Kit
How To Replace a Faulty Radiator Cap?
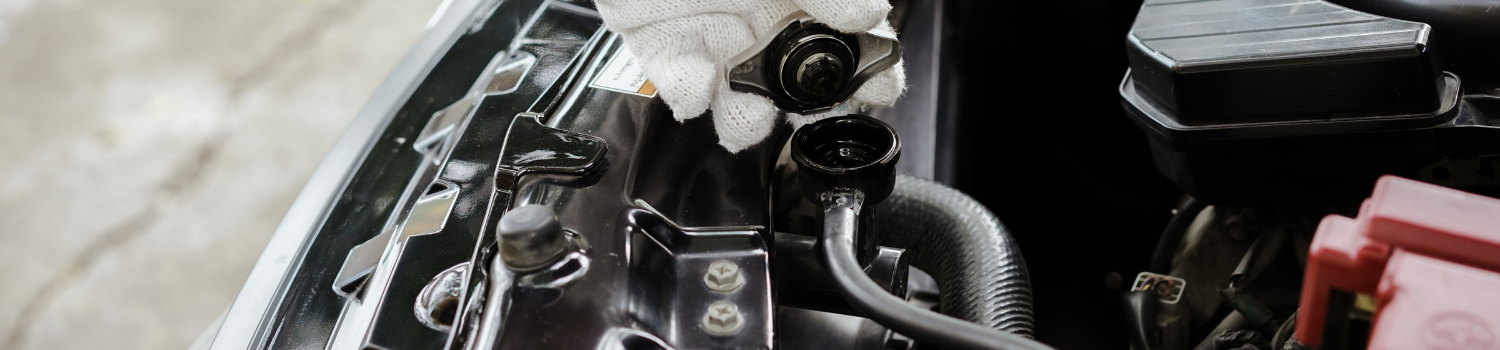
It is necessary to replace a faulty radiator cap to help prevent overheating and coolant loss in your vehicle's engine. A properly functioning radiator cap maintains the necessary pressure in the cooling system, preventing radiator cap leaks and ensuring optimal performance. Using a radiator cap tester can confirm whether the cap is maintaining the correct pressure.
Follow these detailed steps to assess and replace a faulty radiator cap effectively:
Let Engine Cool Down
Before you attempt to replace the radiator cap, it is crucial that you ensure the engine is entirely cooled. A hot engine means pressurized and potentially boiling coolant behind the cap, which can lead to severe burns if released suddenly. Always wait a few hours after the engine has been used to ensure it has adequately cooled.
Use Radiator Cap Tester
To confirm the need for a replacement of the radiator cap, use a radiator cap tester, a tool designed to test the integrity of the cap. Attach the tester to the cap, which is typically done by fitting the cap onto a specific adapter on the tester that matches the cap's design. Pump the tester to increase pressure to the manufacturer's specified level (usually noted on the cap or in the vehicle’s owner manual). Observe the pressure gauge: if the pressure drops consistently, it indicates that the cap cannot hold pressure and is likely faulty.
Shop Now: Radiator Cap Testers
Remove the Faulty Cap
Carefully twist the cap counterclockwise while pressing down if it’s a spring-loaded type, and lift it off the radiator. Once removed, examine the cap for signs of wear such as a weakened or rusted spring, damaged seals, or any debris that might prevent a good seal. These are common reasons for radiator cap leaks.
Install the New Radiator Cap
Take the new radiator cap out of its packaging and ensure that its specifications match those required for your vehicle. Place the cap on the radiator neck, press it downward to fit into place, then twist it clockwise until you feel it click or lock. This indicates that the cap is securely fastened. A properly seated cap is crucial to prevent radiator cap leaks and ensure the system operates under the correct pressure.
Verify Installation and Check System
After installing the new cap, start the engine and let it reach operating temperature. Watch the temperature gauge to ensure that the engine does not overheat. Shut down the engine, then allow it to cool before retesting the cap with the radiator cap tester to confirm it is holding the correct pressure. Also, check around the radiator for any signs of leaks or coolant on the ground, which could indicate an improperly seated cap or other issues in the cooling system.
JB Tools Has a Variety of
Radiator Repair/Maintenance Tools
Whether you're tackling routine maintenance or preparing for more complex repairs, JB Tools provides the necessary tools to ensure the job is done right. Take advantage of our insane deals and secure essential tools that will help keep your vehicle's cooling system in top condition.
FAQ
How do I know if my radiator cap is bad?
Common signs of a bad radiator cap include an overheating engine, coolant leaks near the cap, a collapsed radiator hose, air bubbles in the cooling system, or frequent coolant reservoir overflow. Since these symptoms can also point to other cooling system problems, inspect the cap, coolant level, hoses, and radiator before replacing parts.
Can a bad radiator cap cause overheating?
Yes. A faulty radiator cap may fail to hold the correct pressure in the cooling system. When pressure drops, coolant can boil at a lower temperature, making it harder for the cooling system to control engine heat. This can lead to overheating, especially in hot weather or under heavy driving conditions.
Can a bad radiator cap cause coolant leaks?
Yes. A worn seal, weak spring, or damaged radiator cap can allow coolant to escape near the cap, through the overflow tube, or into the coolant reservoir. If you see coolant around the radiator cap or puddles under the vehicle, the cap should be inspected along with the rest of the cooling system.
Why does a bad radiator cap cause the coolant reservoir to overflow?
A radiator cap has a pressure relief valve that helps control when coolant moves into the overflow reservoir. If the valve is stuck open or cannot hold pressure, too much coolant may flow into the reservoir when the engine heats up. This can cause the reservoir to overflow or leave coolant puddles after driving.
Can a bad radiator cap cause a collapsed radiator hose?
Yes. The radiator cap helps coolant return from the overflow tank to the radiator as the engine cools. If the cap’s vacuum valve does not work correctly, it can create too much vacuum in the cooling system, which may pull the radiator hose inward and cause it to collapse.
How do you test or replace a bad radiator cap?
Always let the engine cool completely before removing the radiator cap. Once cool, inspect the cap for a damaged seal, rusted or weak spring, debris, or visible wear. You can also use a radiator cap tester to check whether the cap holds the correct pressure for your vehicle. If it fails the test or shows damage, replace it with a cap that matches your vehicle’s required pressure rating.